With the introduction of SXA 9.3 we are introducing the SXA CLI. The CLI (Command Line Interface) is a command line tool that allows you to setup a theme locally and register it with SXA.
Before we start installing the CLI locally you need to make sure you have NodeJS installed on your local machine. We are using NPM (Node Package Manager) to install the CLI and all its dependencies.
The other dependency is that you have Creative Exchange Live (CEL) enabled on your site. You can do so by going to the folder “Website\App_Config\Include\z.Feature.Overrides”. There you will find a file called “z.SPE.Sync.Enabler.Gulp.config.disabled”. Remove the .disabled from the filename and you have CEL enabled.
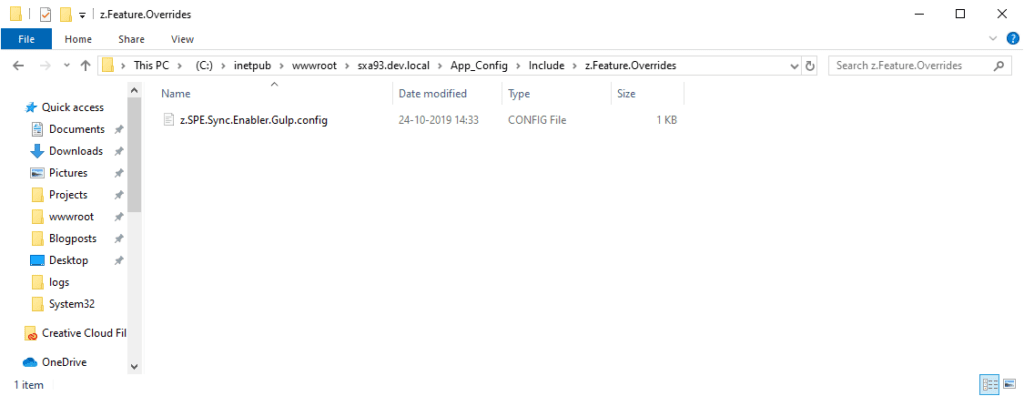
Remove .disabled to enable Creative Exchange Live
Personally I always use the admin user with CEL but for security reason you might want to use another user.
You just need to make sure that you have sufficient permissions. You should either have the sitecore\PowerShell Extensions Remoting role assigned to the user or add the user to the “/configuration/sitecore/powershell/services/restfulv2/authorization” config node:
<configuration>
  <sitecore>
    <powershell>
      <services>
        <restfulv2>
          <authorization>
            <add Permission="Allow" IdentityType="User" Identity="sitecore\\username" />
          </authorization>
        </restfulv2>
    </powershell>
  </sitecore>
</configuration>
Install the SXA CLI
Now back to installing the CLI. First thing we want to do it to install the CLI using NPM. To do so we need to add a registry to NPM. You can do so by running this command in the Windows command prompt (or the new Windows Terminal):
npm config set @sxa:registry https://sitecore.myget.org/F/sc-npm-packages/npm/
Note: If you use the PowerShell console to register the NPM registry you will need to escape the @ character.
The correct command would be:
npm config set \`@sxa:registry https://sitecore.myget.org/F/sc-npm-packages/npm
This makes sure that NPM can find the registry where all packages labeled with @SXA are hosted.
Now it is time to install the CLI. Run the command “npm i -g @sxa/CLI” or “npm install --global @sxa/CLI” and NPM will install the CLI.
npm i -g @sxa/CLI
Now all sorts of magic start. NPM installing the CLI module and all of its dependencies. You will get some warning about outdated packages but that’s nothing to worry about at this point.
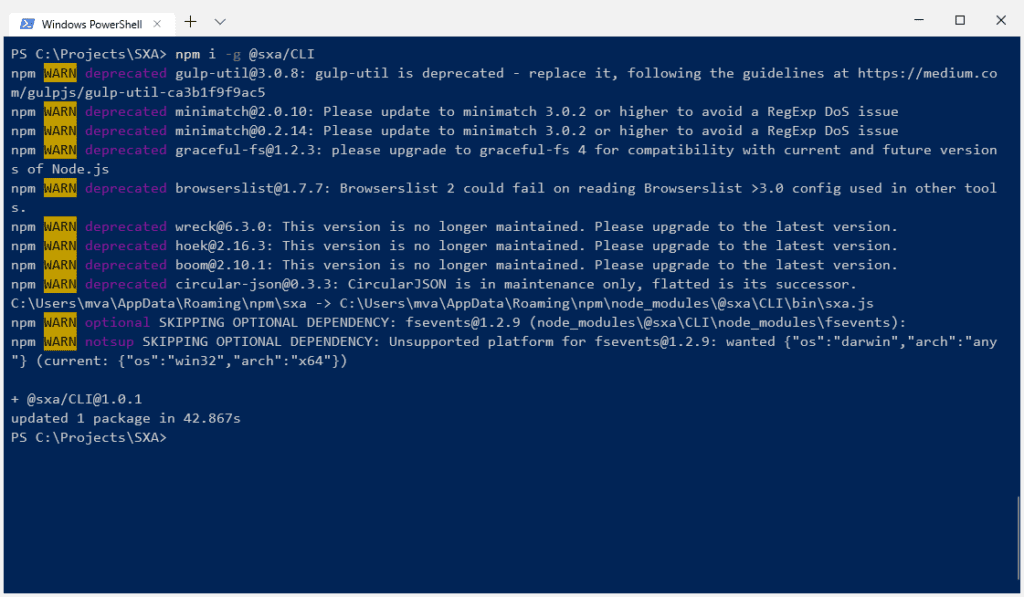
Installing the SXA CLI using NPM
Now that the CLI is installed, let’s start using it. Run “sxa register” followed by the url you want it to connect with. In my case “sxa register https://sxa93.dev.local”. This will make sure the CLI will use this url to connect with in a later stage.
sxa register https://sxa93.dev.local
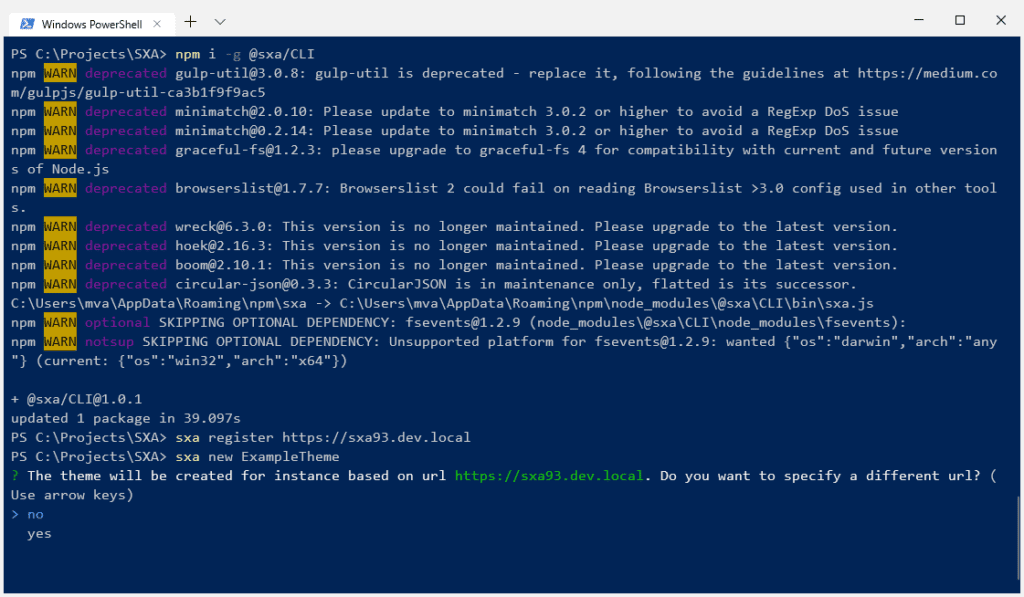
Register the url and start creating a new theme
To create the theme you run “sxa new themename”. First it will ask you to confirm the the url we just registered. After that some basic information like username and password. This will be the user that CEL uses to connect with Sitecore. In my examples I will be using the sitecore\admin user.
sxa new ExampleTheme
Then the CLI will ask for the theme path. This path is relative to the standard themes path (/sitecore/media library/Themes). For this blogpost I will use “Sitecore/Example”. Typically this will be “Tenant Name/Site Name”.
Once this required information is provided the CLI ask whether you want to setup a theme config file.
Theme configuration
At this point we are going to start configuring our theme. It will ask what the active modules are for our site.
You can choose between SearchSiteSetup, MapsSiteSetup, ThemingSiteSetup. Based on your choices the CLI will download the base themes which are required for those modules. Once the theme files are downloaded the CLI will setup the theme file and folder structure. When this is all setup you could change the url to which the theme needs to be published.

This is also the point at which the CLI has created the folder structure within Sitecore. As you can see it has not sychronized anything since we haven't made any changes. It simply created the bare folder structure
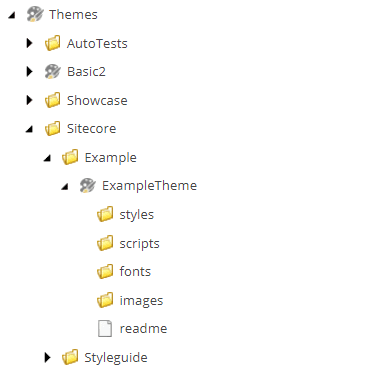
Now you will get some questions that relate to the frontend technologies used. First some JavaScript focused questions:
- [JS] Do you require ES6+ support(babel used)
You can choose whether you want EcmaScript6 support. If so, babel will be used to compile this to backwards compatible JavaScript for use in current and older browsers.
- [JS] Do you want to compile minified file(pre-optimized-min.js)
Do you want to compile all your JavaScript files into a bundle
- [JS] Do you want to upload js source files
You can choose whether you want to upload all the JavaScript files, or keep them locally and just use the bundled version (pre-optimized-min.js)
- [CSS] Do you want to compile minified file(pre-optimized-min.css)
More or less the same question as earlier for JavaScript but now for the stylesheets.
- [CSS] Do you want to upload css source files
You can keep all the css files on your local disk and simply use the bundled version, or upload all the CSS files to the media library.
- [SASS] Do you want to upload sass source files
The same question as earlier but now focused towards the sass files.
Now we have completed all the steps to create a new theme. But we are not ready to use it (yet). The CLI made sure all the required files are on your local disk. As part of those files there is also a package.json which lists all the required NPM modules to run the theme and Creative Exchange Live.
To install those modules we first need to go into the theme folder. Once we are there, we can simply run npm install and NPM will install all the required modules.
C:\\Projects\\SXA\\cd ExampleTheme C:\\Projects\\SXA\\ExampleTheme\\npm install
After all of this is completed. You can run “gulp” in the theme folder and start making your edits. Your theme will then compile locally and upload the compiled assets to Sitecore.
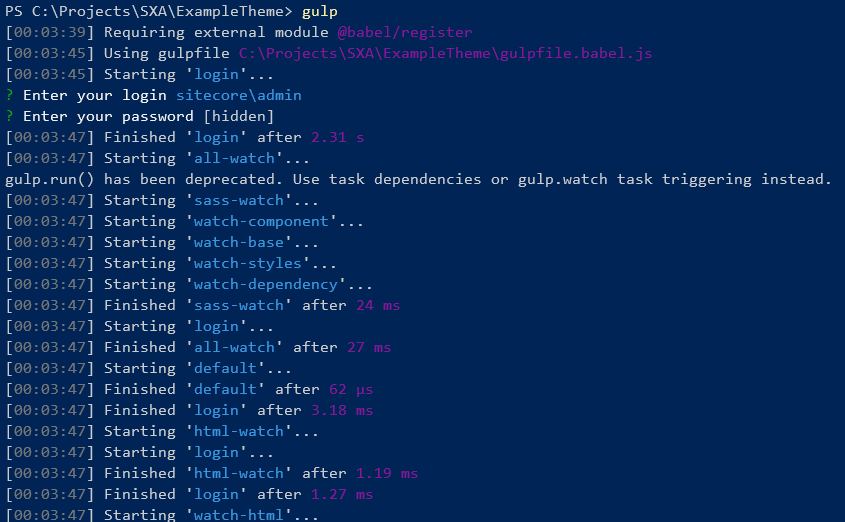
Running gulp to synchronize our theme with Sitecore
So now, with the gulp task running, whenever I make a change in my source files. For example a sass file, it will first compile that into CSS and bundle that into a pre-optimized-min.js file. That minified file will then be uploaded to Sitecore.

The results in the gulp output
And as you can see it indeed upload my changes in a minified file to my newly created theme
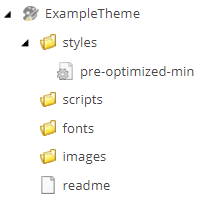
Voila, we have now installed the CLI, created a new theme locally and configured Creative Exchange Live to synchronize our changes (using compiled assets) into Sitecore.