In the first part we have configured OAuth and CORS in our Stylelabs environment so that we can use it within our Sitecore environment. Now we need to install the Stylelabs plugin within Sitecore and make some additional configuration changes.
Once logged into Sitecore and on the launchpad, click on control panel and go to “install a package”. First we need to upload the plugin, that you can download from dev.sitecore.net, to our Sitecore instance. Once that has been uploaded, we can start the actual installation.

During the installation a question pops up. Sitecore detected a change to an item which is already in the database.

To make sure we are not overwriting important changes we will choose the merge option. This will merge our changes with the current item in the database, without affecting any child items.
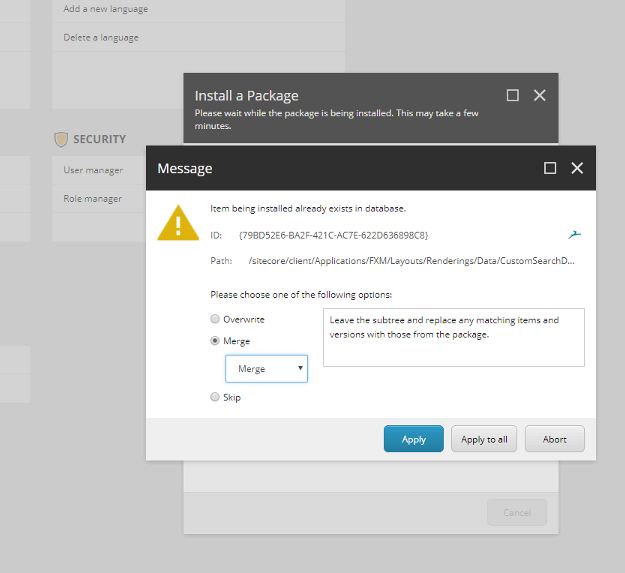
Click apply to all and the installation will continue. Once the installation has finished, we can close this dialog window. Now that the plugin has been
installed, we need to setup the configuration itself.
• We go to the Content Editor.
• Open up the System node (/sitecore/System) and there we’ll find an item called Modules.
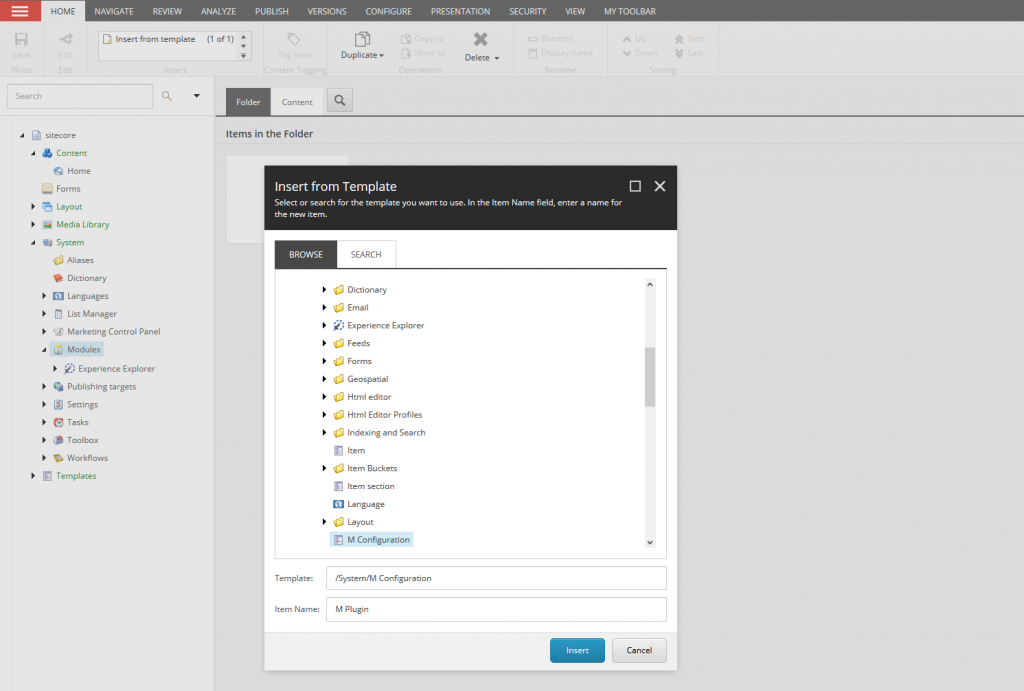
• Right-click on the Modules item and select “Insert from Template”.
• Search for the “M Configuration” template in the system node and give the new item the name “M Plugin”.
• Now click insert and an item will be created under the “Modules” item.
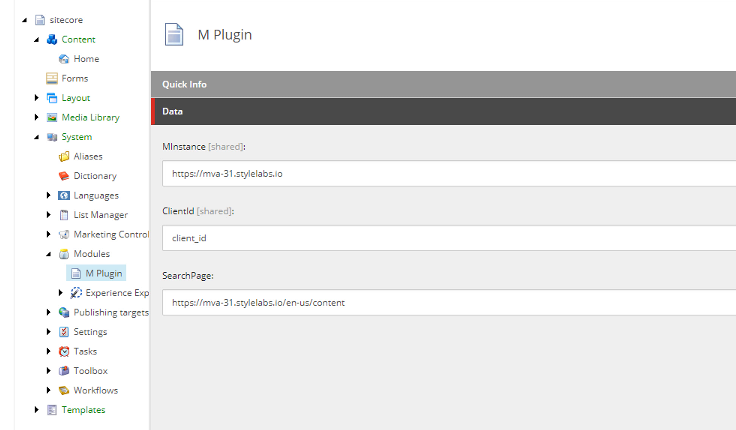
Now we need to fill in the three fields provided by the item. The first field called “MInstance” needs to point to our Stylelabs environment.
The second field “ClientId” needs to contain the exact same Client ID as we provided when we did the configuration within Stylelabs.Lastly, we need to provide
the URL to the search within Stylelabs. Use the same URL as your instance followed by “/en-us/content”.
Finally click save and we are finished with setting up the configuration within Sitecore.
To test our settings, we can go back the Home item (/sitecore/content/Home) in the Sitecore Content Editor. By default, it contains two fields: Title and Text. Text is a rich text field that has been extended by our plugin. Click “Show Editor” to open the rich text editor.
There you will now notice the M button:
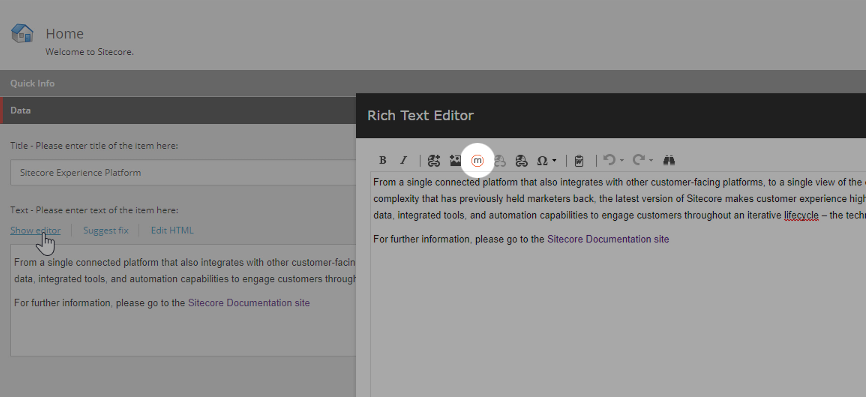
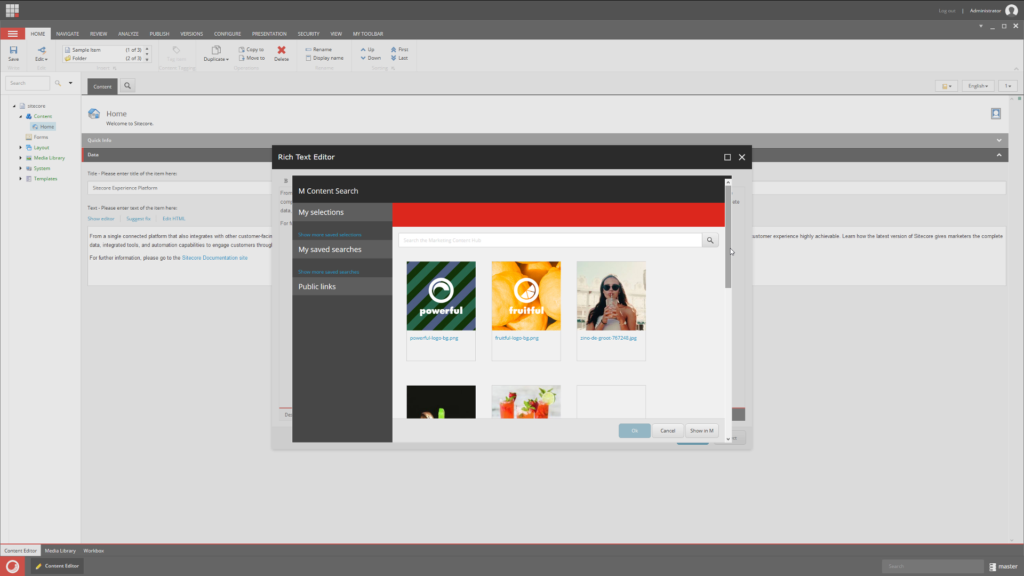
Click the button and now you will need to authorize Sitecore to browse your Stylelabs DAM.

After confirming the authorization, you can browse and search your Stylelabs DAM and use those assets within your Sitecore instance.
As you can see, setting up the Sitecore Plugin for Stylelabs DAM is relatively easy and quick to do!