With the Sitecore plugin for Stylelabs DAM Sitecore users can browse, search and embed digital assets from the Stylelabs DAM without leaving the comfort of the Experience Editor or Content Editor.
In this post I will guide you through the configuration of the module. Before installing the plugin, you need to make some configuration changes within the Stylelabs environment.
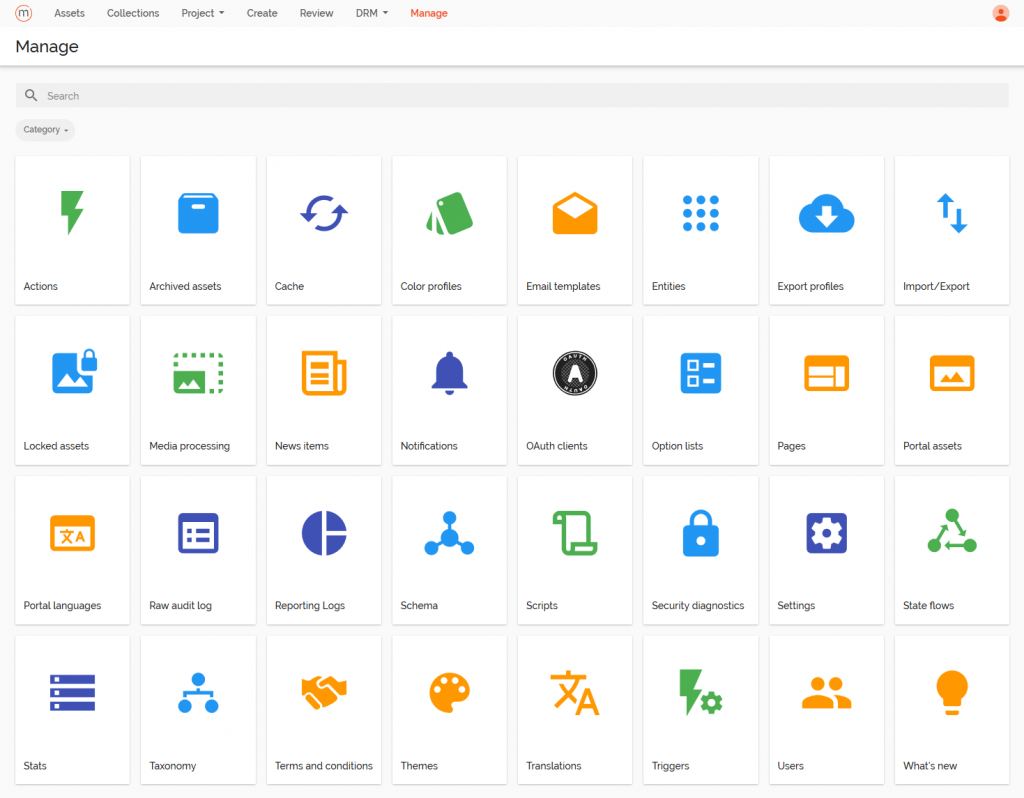
First, we need to allow the Sitecore instance to authenticate against Stylelabs by setting up an OAuth client. When logged into your Stylelabs environment you will need to go to manage and search for “OAuth”.
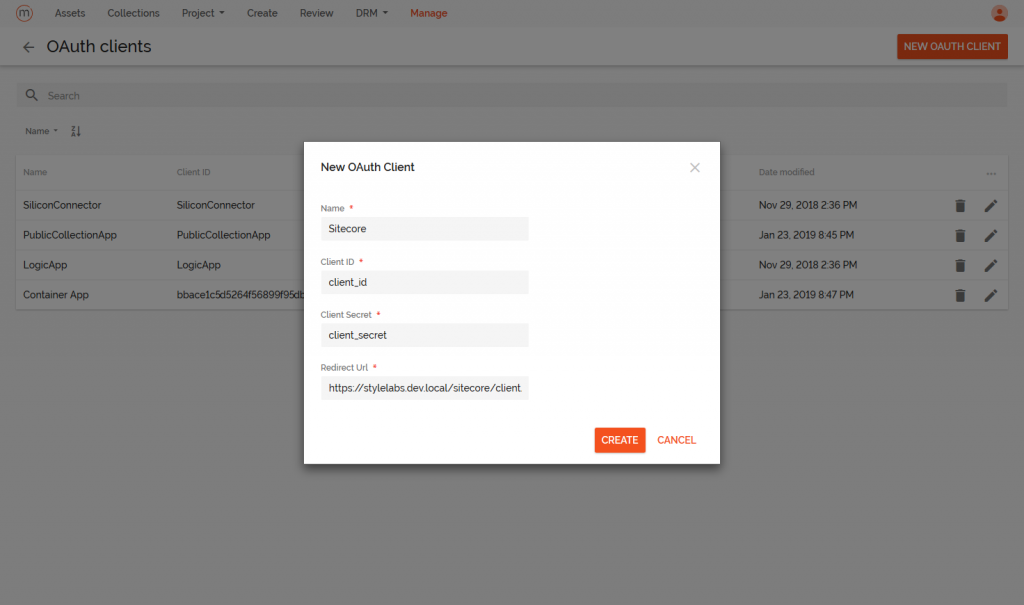
Click the OAuth Clients button and then you will get an overview of all the existing clients that can authenticate with your Stylelabs instance.
Click new OAuth Client and start entering your information. Start with a name, this is primarily used for identification purposes. Then enter a client id and a client secret, you will need this later in Sitecore as well. And finish with setting up the redirect url that will be used once someone has authenticated themselves. This must be the url of your Sitecore instance followed by “/sitecore/client/Stylelabs/Mapp”. Click on “Create” to create the actual client.
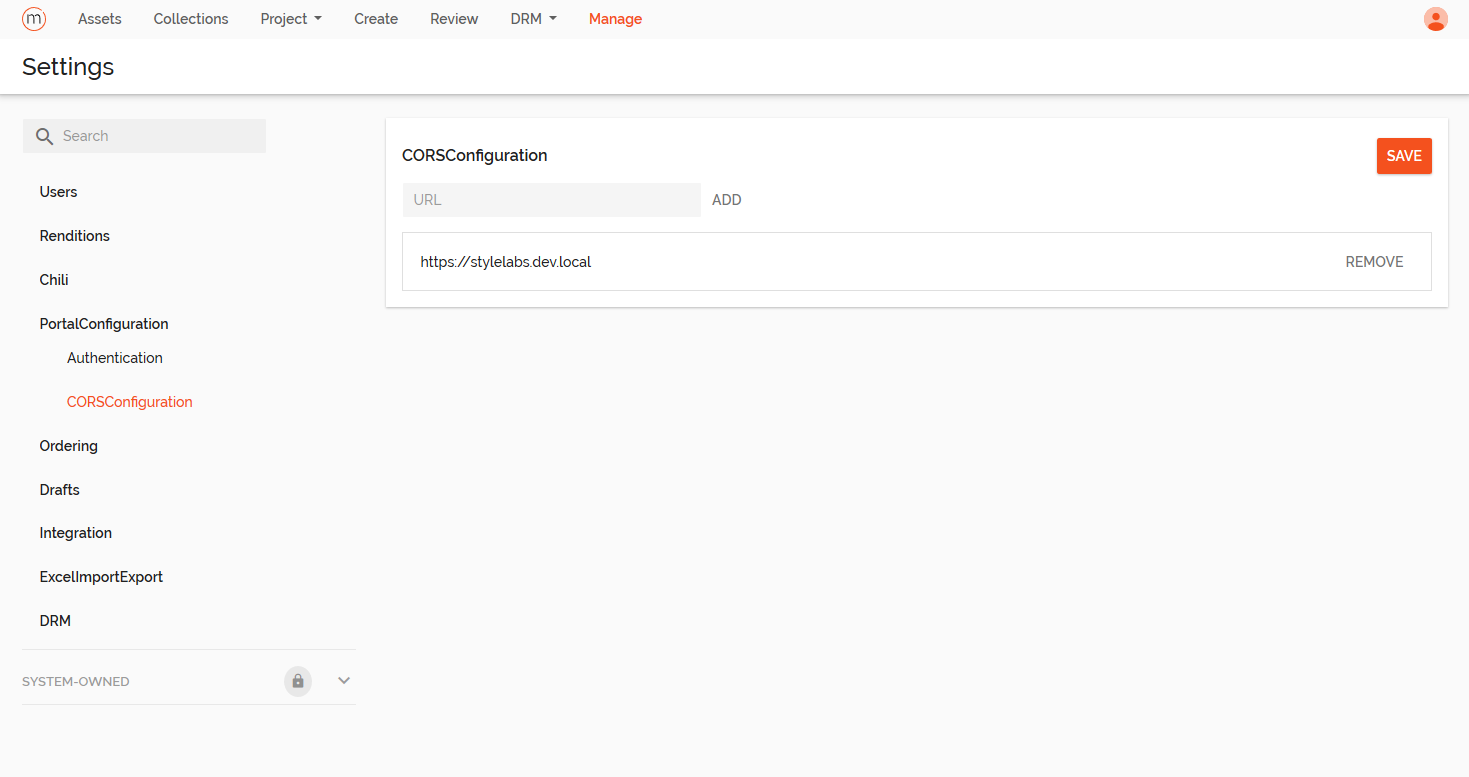
Now that we can use the authentication there is one more thing so setup. In order to access the repositories within Stylelabs we need to setup CORS. CORS stands
for Cross Origin Resource Sharing and this will allow incoming traffic to your Stylelabs DAM instance.
To do so, click on Manage and then go to the settings. On the left side go to PortalConfiguration and then click CORSConfiguration. Now you can add the
URLs to your Sitecore instance.
And that wraps up all the configuration changes within the Stylelabs environment. Now let’s continue this journey by installing the actual plugin in the Sitecore environment in the next part.